How to Smoke Meat Like a Pro: A Beginner’s Guide to Mouthwatering BBQ Every Time
Smoking meat at home can seem tricky, but with the right steps, anyone can do it well. Whether you’re using a charcoal grill, an offset smoker, or a pellet smoker, learning how to smoke meat comes down to understanding heat, wood, and timing. This guide breaks it down so you don’t have to guess your way through the process. From choosing the right cut to keeping your temperature steady, each step helps build flavor and tenderness. If you’re just starting out or want better results next time, this beginner-friendly approach will help you get consistent results without overcomplicating things.
Choose the Right Smoker for Your Needs
Start by picking a smoker that fits your routine and spending plan. Not all smokers require the same effort or cost. Electric smokers can be simple to use. Just plug them in, set the temperature, and let them run. These models suit small spaces and people who want less hands-on time.
Charcoal smokers need more attention but give strong smoke flavor. They take time to heat up and demand regular checks during cooking. Some enjoy this process because it gives more control over heat and smoke levels. Charcoal options often cost less than other types, though prices vary.
Pellet smokers use pressed wood pellets as fuel. They offer steady temperatures through digital controls. Many find them helpful when learning how to smoke meat because they combine ease with reliable results. Pellet machines may cost more upfront but save time during long cooks.
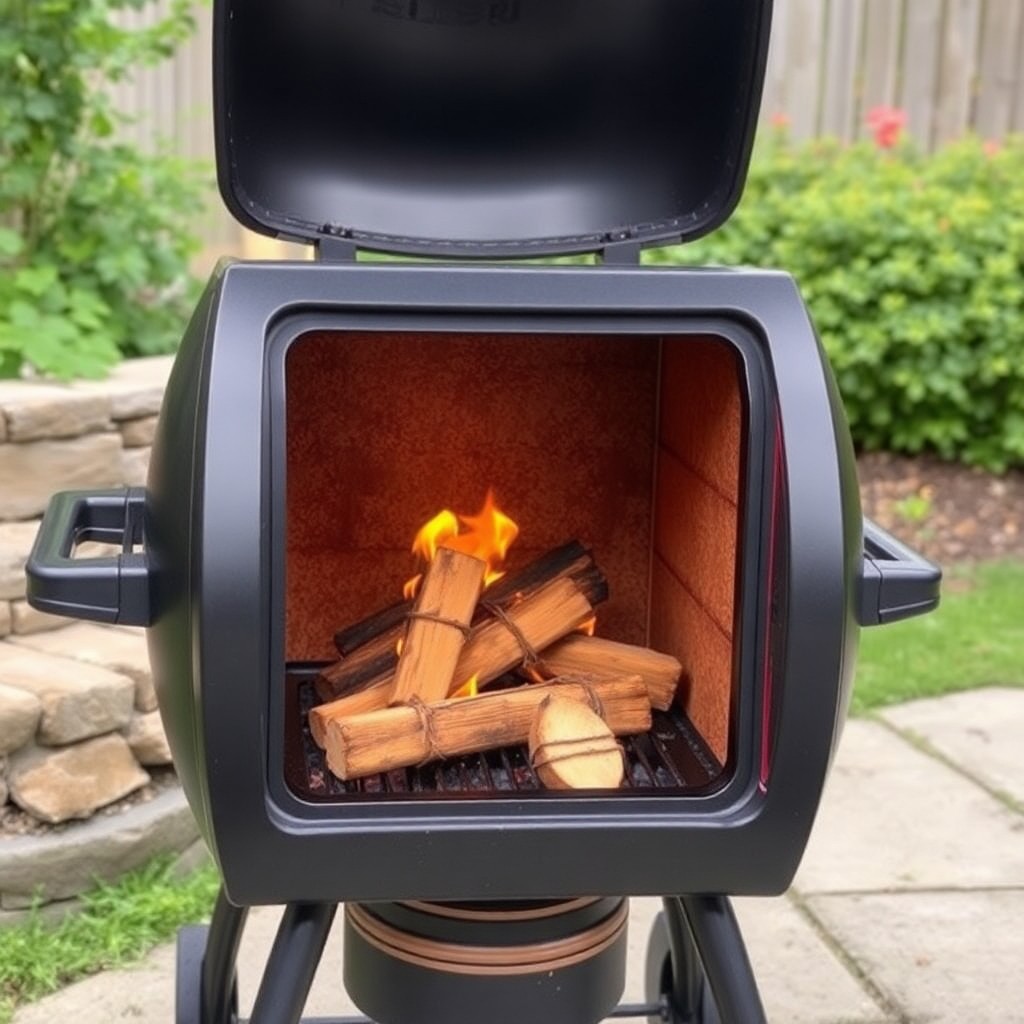
Offset smokers burn wood or charcoal in a firebox on the side of the chamber. Smoke flows into the main area where food cooks slowly over indirect heat. These units take space and skill to manage well but deliver deep flavor when used correctly.
Pick a style based on how much time you want to spend watching the smoker, how much food you plan to cook, and how much room you have outdoors. Think about maintenance too; some need frequent cleaning while others stay tidy longer.
Try visiting local stores or asking friends who already own different types of smokers before buying one yourself. You might even rent or borrow one first to see what fits best with your habits and needs.
Not every person wants full control over every step of smoking meat—some prefer simplicity while others enjoy managing every detail from start to finish. The right choice depends on what tools help you stay consistent without stress each time you prepare smoked dishes at home.
Master the Basics of Temperature Control
Keeping a steady temperature is one of the most important steps when learning how to smoke meat. Without it, your food may cook unevenly or dry out. Most smoked meats need low and slow heat—usually between 225°F and 250°F. This allows the meat to break down over time while keeping moisture inside.
Start by getting a reliable thermometer. Built-in gauges on smokers often give false readings, so use a digital probe to track both internal smoker heat and meat temperature. Place one probe near where the meat sits, not just at the top of the lid.
Use charcoal or wood as fuel, depending on your smoker type. Add small amounts at regular times rather than large piles all at once. This helps avoid sudden spikes in heat. If your smoker uses gas or electric power, make sure it stays on for long periods without needing resets.
Airflow also plays a big role in heat control. Open vents let more oxygen in, which increases fire strength and raises temperature. Closing them reduces air and lowers heat levels. Adjust vents slowly and watch how they affect the numbers on your thermometer.
Avoid opening the lid too often while cooking—each time you do so, you lose built-up heat and smoke that help flavor your food. Use timers to check less often and rely on probes instead of sight alone.
Wind, outside weather, and even sunlight can change how hot your smoker gets during a session. Try placing it in a spot with some cover from wind or direct sun if possible.
Practice helps build confidence over time. Keeping notes about fuel amounts, vent settings, and outside conditions can help you improve with each session until you better understand how changes affect results inside your smoker box.
By managing these parts carefully, you’ll keep temperatures steady enough for tender results every time you cook outdoors using this method.
Know Your Woods and Their Flavors
Choosing the right wood is a key part of learning how to smoke meat. Each type offers a unique taste that can change how your meat turns out. Picking the wrong kind may overpower or clash with your protein.
Hickory is one of the most common options. It gives off a strong, smoky flavor that works well with pork and beef. Many people use it for ribs or brisket because its boldness holds up against thick cuts.
Applewood brings a lighter touch. It adds a subtle sweetness that pairs well with chicken and turkey. Some also use it for pork if they want something milder than hickory.
Cherry wood produces a sweet smoke too, but it’s slightly richer than applewood. It works nicely with poultry and ham, offering depth without being harsh.
Oak sits somewhere in the middle. It’s steady and not as intense as hickory but stronger than fruit woods like apple or cherry. People often choose oak when smoking beef or lamb because it supports those meats without taking over.
Mesquite burns fast and makes heavy smoke. Use it sparingly, especially with smaller cuts like chicken or fish, to avoid bitter notes. Some prefer blending mesquite with other woods to balance its sharp edge.
Maple has a gentle tone that suits light meats such as chicken or even vegetables. It doesn’t add much strength but helps round out flavor when mixed with others.
Pairing wood types can give better results depending on what you’re cooking. Mixing mild woods like apple with stronger ones like oak allows more control over the final taste.
Knowing which wood matches which meat helps avoid common mistakes in smoking food at home. Testing different combinations can offer new results each time you cook, making every session more effective and rewarding for beginners building their skills step by step.
Prep Like a Pitmaster
Before placing meat in the smoker, take time to prepare it. This step shapes how your food will taste and feel when eaten. Start by trimming off extra fat. Remove any thick pieces that could block seasoning from reaching the surface. Keep some fat for moisture during cooking.
Pick between a dry rub or a marinade. A dry rub is a mix of salt, pepper, sugar, and spices. Use your hands to press it into the meat so it sticks well. Cover every part evenly. For marinades, use oil, vinegar, herbs, and sauces like soy or mustard-based blends. Place the meat in a sealed container or zip-top bag with the marinade to coat all sides.
Let your seasoned meat rest in the fridge before smoking it. Leave dry-rubbed cuts uncovered on a tray or plate overnight if possible. For marinated options, store them sealed for several hours or more—overnight works best for deeper taste.
Avoid rushing this process. Quick prep leads to weaker flavor and less tender texture after smoking. When learning how to smoke meat, patience at this stage makes a big difference later on.
Before putting anything into your smoker, remove excess marinade if it’s too wet; patting down helps form better bark on the outside of your meat during cooking. If using rubs only, let them sit long enough so they bond with the surface instead of falling off during handling.
Keeping track of what you use helps improve results over time—write down seasoning mixes and soaking times that worked well so you can repeat them next time with more confidence and control over flavor choices.
This early step gives direction to everything that follows once heat gets involved—flavor starts here and builds throughout smoking as wood smoke mixes with what you’ve already added through prep choices made before firing up any grill or pit setup.
Learn How to Smoke Meat Step-by-Step
Start by choosing your smoker. You can use an electric, charcoal, or wood pellet model. Each type has its own fuel source and heat control method. Pick one that fits your space and comfort level.
Next, select the meat you want to smoke. Common options include ribs, brisket, pork shoulder, or chicken. Trim off any excess fat but leave some for flavor during the cook.
Prepare a dry rub or marinade depending on the meat type. Rub it evenly across all surfaces and let it sit in the refrigerator for several hours or overnight. This helps the flavor settle into the meat.
Now it’s time to prep your smoker. Clean out any ash from past use if needed. Fill your fuel tray with wood chips or pellets based on what you’re smoking—hickory for strong taste, applewood for something milder.
Set up a water pan inside if your smoker allows it. The moisture keeps meat from drying out over long cooking times.
Preheat your smoker until it reaches 225°F to 250°F (107°C to 121°C). That’s a good range for slow cooking without burning or drying the surface too fast.
Place the meat inside once the temperature is steady. Use a thermometer probe if possible so you can track internal heat without opening the lid often.
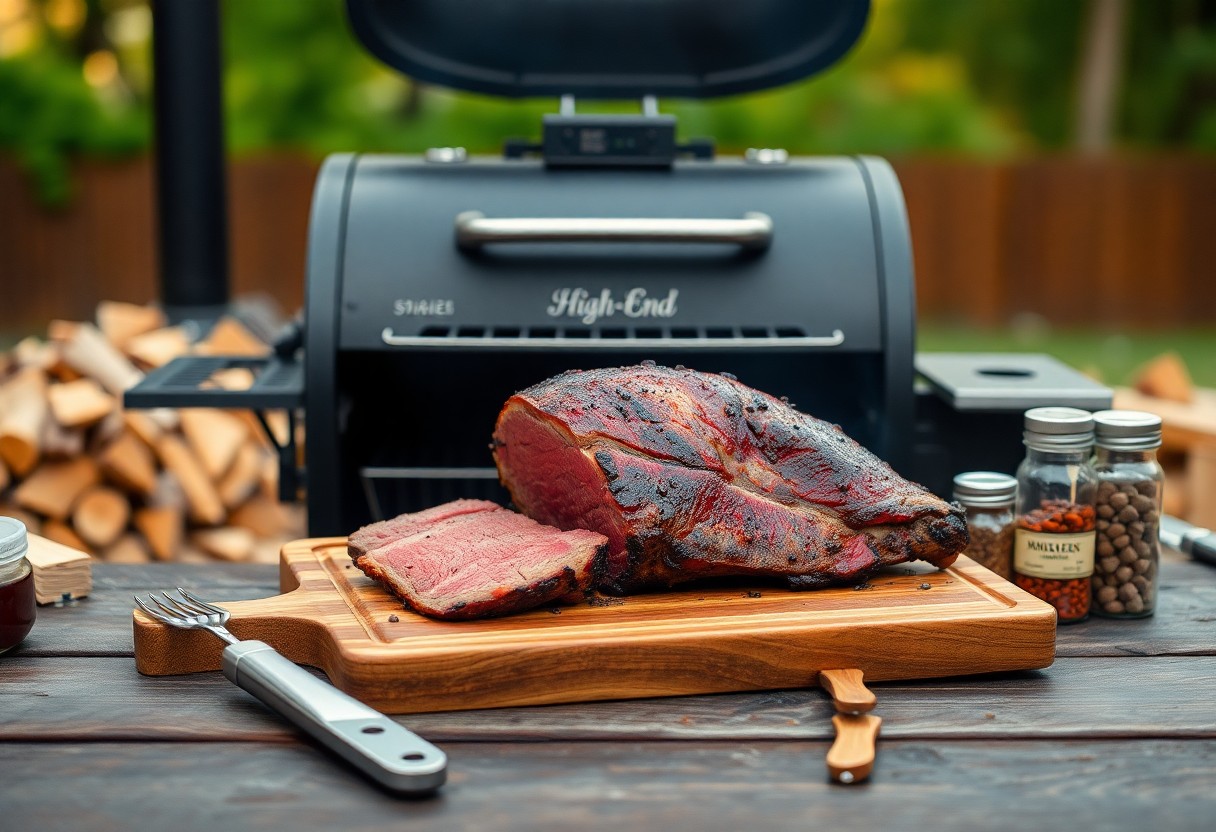
Let it smoke low and slow for several hours depending on weight and cut size. Brisket may take over ten hours; chicken needs far less time.
Check internal temperatures near the end of cooking time rather than judging by sight alone. For example, pork shoulder should hit around 195°F (90°C) before pulling; poultry must reach at least 165°F (74°C).
Once done, remove from heat and let it rest under foil for about 15–30 minutes before slicing or serving.
Learning how to smoke meat takes practice but following these steps builds consistency each time you cook outdoors with smoke as your main tool.
Let It Rest
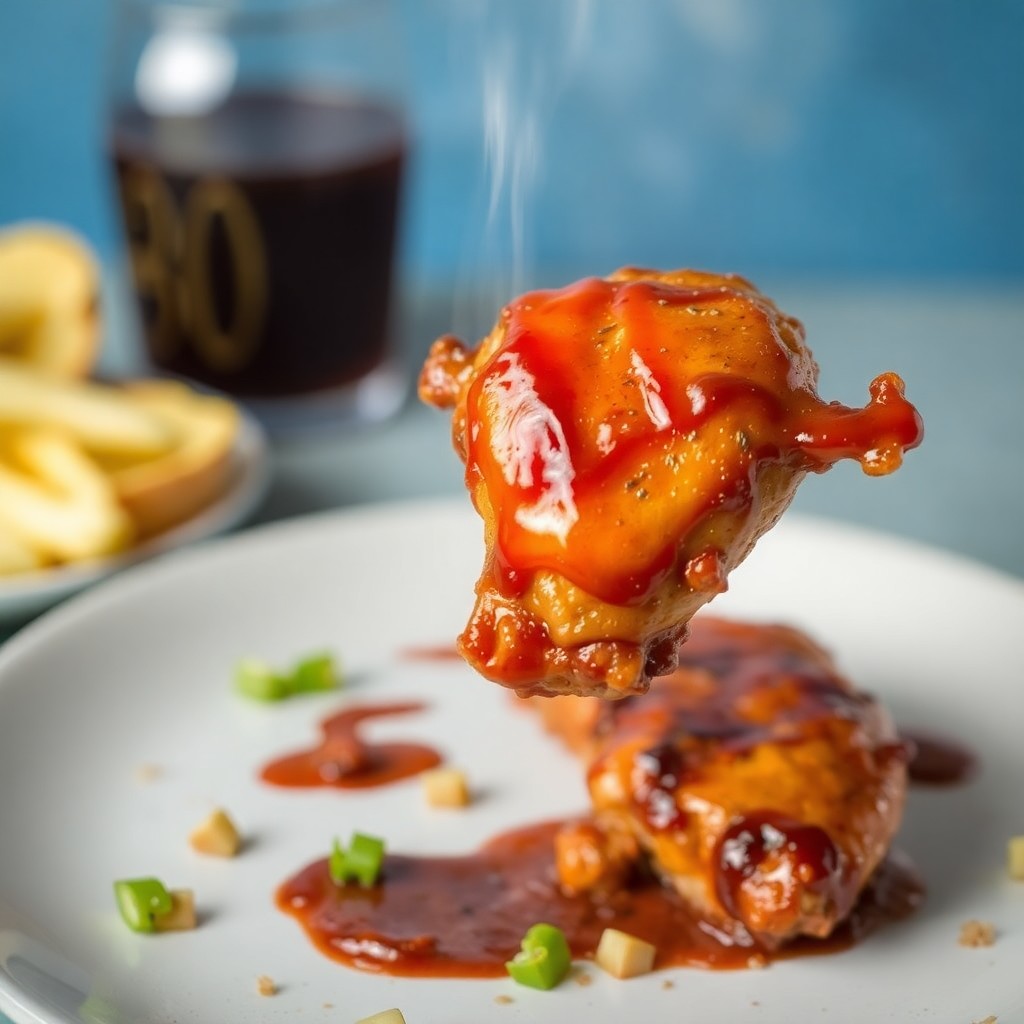
After smoking meat, many people rush to slice and serve. Skipping the rest period is a common mistake. When meat comes off the smoker, it’s still hot and full of steam. Cutting too soon lets moisture escape. This leads to dry slices and less flavor.
Letting it rest helps keep juices inside the meat. As it cools slightly, liquids move back into the muscle fibers. This makes each bite more tender and easier to chew. You worked hard learning how to smoke meat, so holding off a few extra minutes protects that effort.
The size of the cut changes how long you should wait. A small piece like chicken might need 5–10 minutes. Larger items like brisket or pork shoulder may need 30 minutes or more. Use foil or butcher paper to cover it loosely during this time. Don’t wrap it tightly—this traps heat and can overcook your food.
Place it on a clean cutting board or tray while resting. Keep it away from cold air or strong drafts that cool too fast. A warm oven turned off can also help hold temperature without cooking further.
Resting does not take much effort but gives better results every time you smoke meat at home. Many experienced pitmasters say this step is just as important as wood choice, spice rubs, or technique.
If you’re teaching yourself how to smoke meat well, focus on patience after cooking stops. Letting proteins settle before slicing avoids waste and improves taste across all cuts—from ribs to turkey breast.
Waiting those extra moments often makes the difference between decent barbecue and something people remember longer than one meal alone ever could be expected to do in any backyard cookout setup anywhere at any time of year regardless of weather conditions involved in preparation steps taken throughout a session involving smoked meats for personal enjoyment or group meals alike shared among friends family coworkers teammates neighbors etc
Mastering the Art of BBQ Starts with the Right Foundations
Whether you’re firing up your first smoker or looking to refine your backyard barbecue game, understanding how to smoke meat begins with choosing the right equipment and learning essential techniques. From controlling temperature and selecting the perfect wood to prepping like a pitmaster and letting your meat rest, each step plays a crucial role in creating tender, flavorful results. By following these fundamentals, you’ll build confidence and consistency every time you cook. With practice and patience, smoking meat can transform from a weekend experiment into a true culinary passion that delivers mouthwatering BBQ every time.